Setting Up a Google Scholar Profile

1. Create Your Account
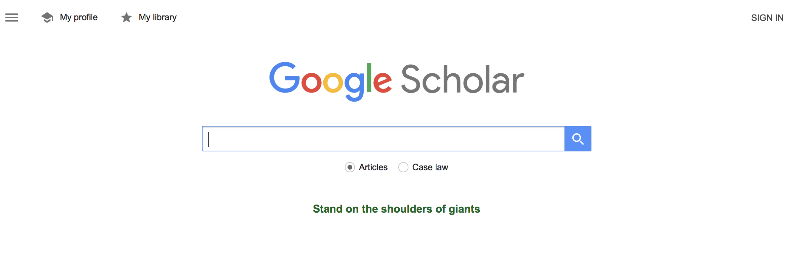
- Go to https://scholar.google.com/
- Click "My profile" in the top left corner and log in to Google (if you're a student, we recommend not using your LionMail account for this, as you'll lose access to your Google Scholar profile when you leave the institution).
- Fill in your name, affiliation, research interests, and home page (if you have one).
- Confirm your email address.

2. Add or Claim Your Publications
- Google Scholar will present you with a list of publications it thinks you wrote. Adding them to your profile is easy—just click the box.
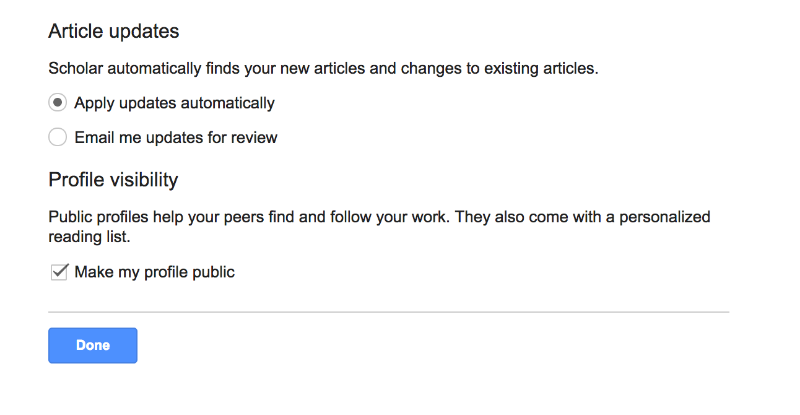
- Next, you'll be asked if you want Scholar to automatically add new publications it finds or email you updates for review. We recommend the latter, especially but not only if you have a common name, as Scholar can sometimes be a little overzealous in assigning publications to you.
- Finally, you'll be asked if you'd like to make your profile public. We suggest you do it!

3. Finesse Your Settings
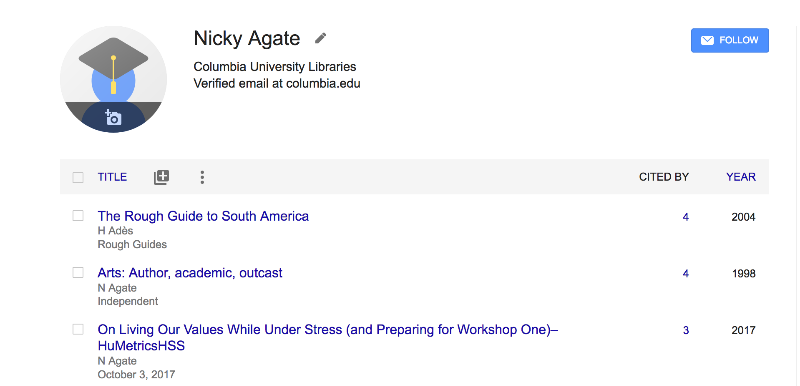
- Click VIEW ALL to check out your citations (Scholar takes these from anywhere it finds them on the web)
- Add any co-authors
- Click the + to add any publications Scholar has missed
- Click Follow to get an email when Scholar finds a new citation of your work